
A more useful digital fitting room
Virtual try-on
Virtual Clothes Try-On Guide: How to Get Better Results from One Photo
Learn how virtual clothes try-on works, which photos to prepare, how to compare results, and where an AI preview should not replace a real fitting.
What virtual clothes try-on can help you decide
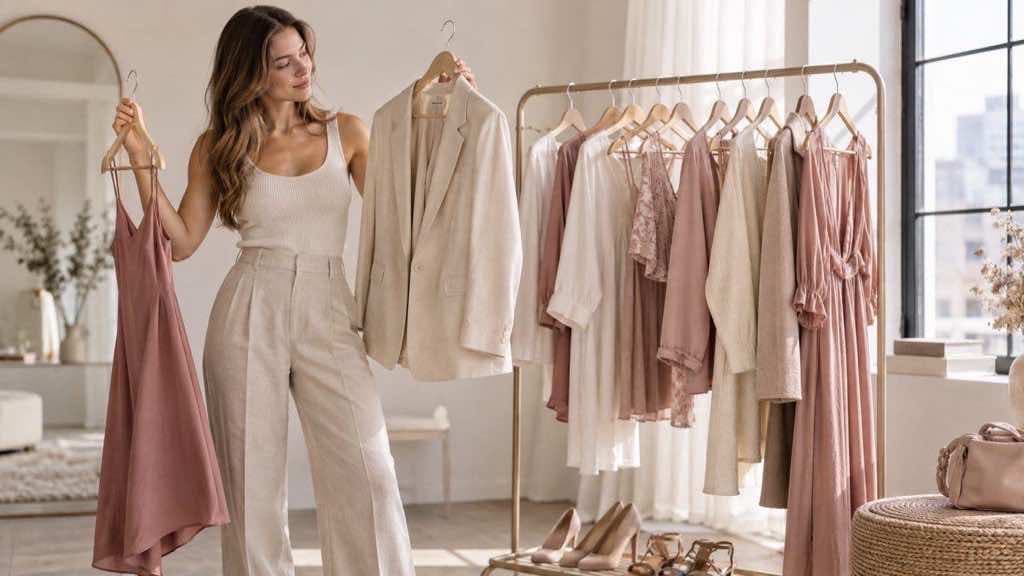
Shopping online often fails at the same moment: you can see the garment clearly, but you cannot picture the relationship between that garment and your own proportions, coloring, or wardrobe. A virtual try-on preview helps bridge that gap by placing a garment idea into a person photo. It can make silhouette, neckline, sleeve length, color contrast, and overall styling direction easier to compare before you buy, pack, sew, or change an outfit.
The preview is not a measurement tool. It cannot confirm the exact size, fabric weight, stretch, drape, comfort, or construction quality of a garment. Treat it as a visual decision aid. If you need reliable fit information, keep using size charts, garment measurements, customer photos, return policies, and—when possible—a physical fitting. The most useful workflow combines the quick visual comparison of AI with the practical evidence from the product listing.
Prepare the person photo first
Choose a photo where the body position is easy to read. A standing, front-facing or lightly angled pose with even light gives the editor more information than a seated pose, a cropped torso, or a dramatic perspective. Keep the person fully clothed and make sure the body outline is not hidden by a large bag, another person, or a busy foreground object. A simple background is helpful because it keeps attention on the clothing change.
Use a photo you are allowed to use and remove unnecessary personal details from the frame. Crop out documents, private addresses, and other people. If you are preparing an image for a friend or model, get their permission before uploading it. Better inputs are usually also more private inputs: a clean portrait with a plain background contains less unrelated information than a crowded lifestyle photo.
Choose a garment image that shows the shape
The garment image should show the item clearly, with as little overlap as possible. A product photo on a plain background, a flat-lay image, or a straight-on image from a wardrobe catalog is easier to interpret than a dark photo where the sleeves merge into the background. If the garment is patterned, use a high-resolution image so the main colors and placement are visible.
Pay attention to the type of garment you are uploading. A jacket, dress, top, or one-piece item changes the silhouette in different ways. If the source image only shows the front, the preview may simplify the back or side. That is fine for an initial style check, but it is another reason to compare the result with the original listing and not treat one generated image as a product specification.
Den Ratgeber in die Praxis umsetzen
Try clothes on your photo
Beginne mit einem klaren Foto, vergleiche einige gezielte Varianten und nutze das Ergebnis als visuelle Orientierung für deine nächste Stilentscheidung.
Compare one styling question at a time
Start with one person photo and one garment. Ask a focused question: Does this neckline work with my proportions? Does the color feel too high-contrast? Would this jacket look better open or closed? Once you have an answer, change one variable. Use the same person photo with two garments, or the same garment with two styling ideas. Controlled comparisons prevent the background, pose, and lighting from confusing the decision.
A useful comparison set usually includes a familiar option, a practical alternative, and a more expressive choice. The familiar option calibrates the preview against clothing you already know. The practical alternative tests the purchase you are considering. The expressive option tells you whether the issue is truly fit or simply that the style is outside your usual comfort zone.
Read the result as a styling signal, not a promise
Look for large visual signals first: the overall line from shoulder to hem, where the eye stops, how much volume the garment adds, and whether the color works with your hair and skin tone. Then inspect details such as sleeve length, waist placement, and the relationship between the garment and your shoes. Small distortions can happen in an AI preview, so prioritize the broad styling question before evaluating tiny seams or buttons.
If the generated result looks unusually perfect, ask what might be missing. Fabric can fold differently in real life, a stiff collar can stand away from the neck, and a knit can cling or stretch. A result that helps you choose between navy and cream is still useful even if it cannot predict the exact drape of the fabric. That distinction keeps expectations realistic and protects trust in the tool.
Use the preview at the right point in a shopping decision
Virtual try-on is especially helpful before you narrow a shortlist. Use it after you know the garment is available in your size and before you spend time comparing every color, accessory, and styling combination. It can also help when you already own a piece and want to test whether it works with a different wardrobe direction. For capsule wardrobe planning, preview a few garments against the same base photo so you can see which items create the most combinations.
Do not use it as a substitute for return-policy research or measurements. Check shoulder width, garment length, rise, inseam, and material notes when those details affect comfort. If you are shopping for a formal event, travel outfit, or weather-specific layer, add the practical constraints to your final decision. A beautiful preview is only one piece of a useful outfit plan.
Den Ratgeber in die Praxis umsetzen
Try clothes on your photo
Beginne mit einem klaren Foto, vergleiche einige gezielte Varianten und nutze das Ergebnis als visuelle Orientierung für deine nächste Stilentscheidung.